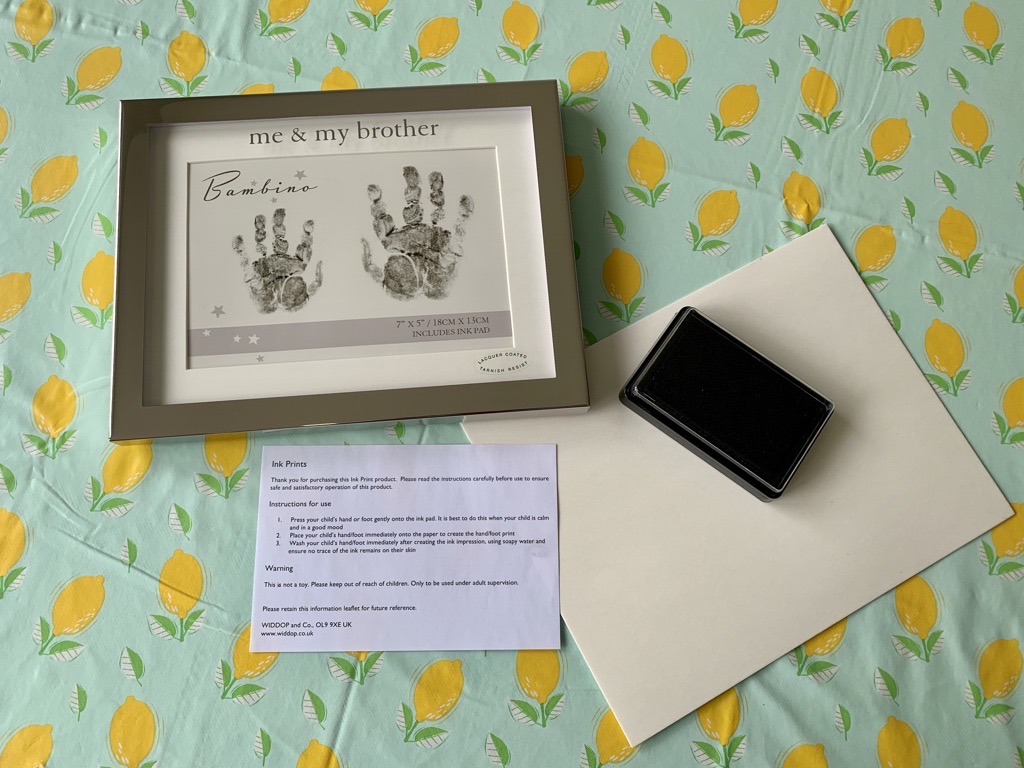
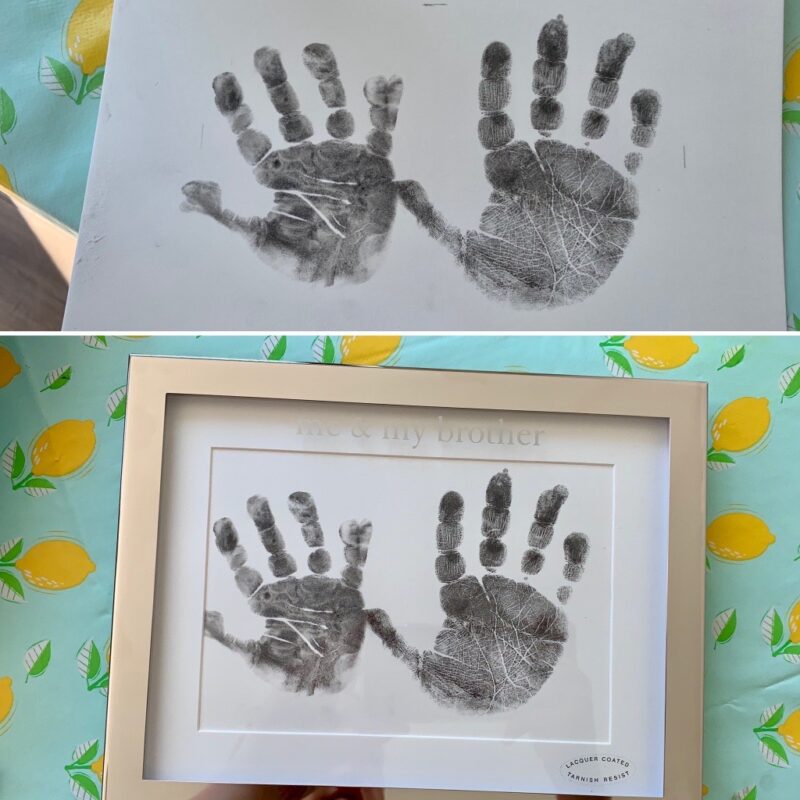
Top Tip - Use a pencil and the mount to mark a small line on the four sides of the paper, before you print your children’s hand prints on the paper… then you know exactly where you need to place the hand prints on the paper for it to be framed correctly!
So, how did we find it?
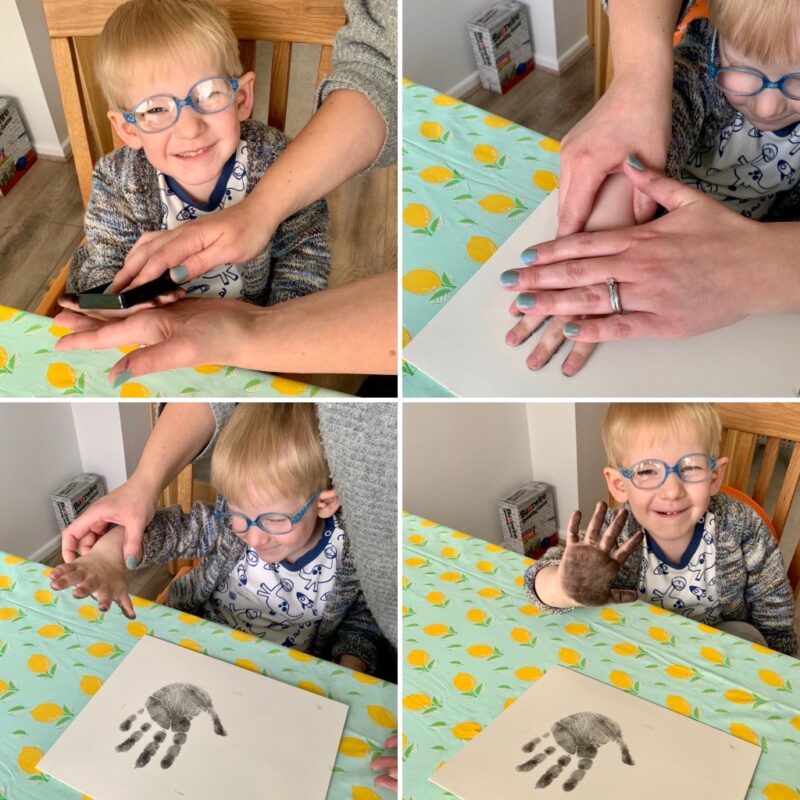
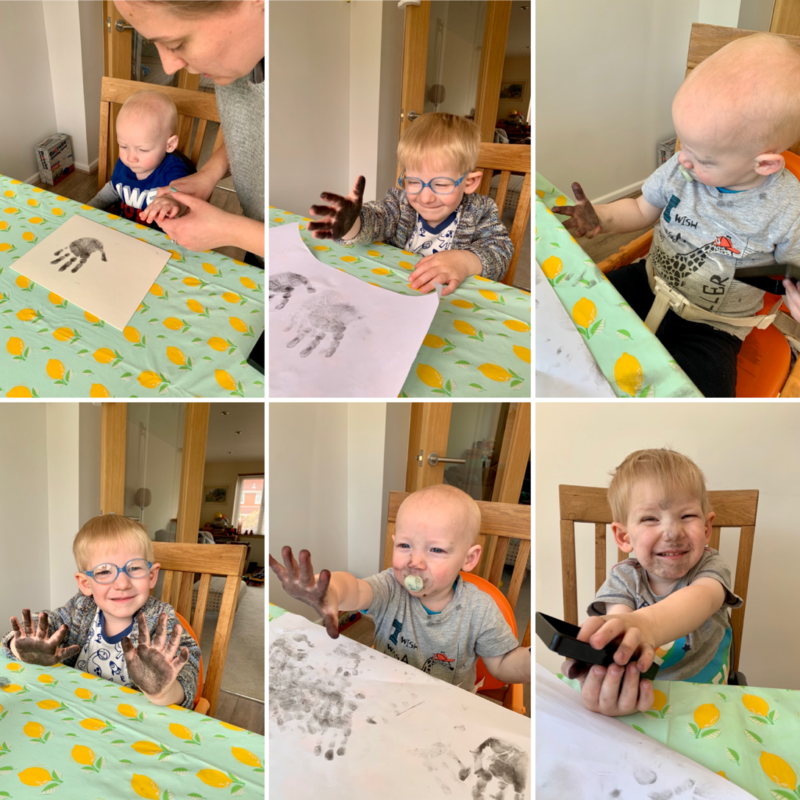
Cody was so excited to get his hands all inky and make hand prints. Jasper however, being a headstrong 18 month old, wasn’t quite so thrilled with putting his hand down in a specific place! We actually had to take Jasper’s on a different day to Cody… as he was not in the mood when we tried to attempt it the first time!
We had a practice on some plain paper before printing their hand prints on the paper included with the frame. Both boys had great fun and by the end of it, they looked like they had been up the chimney due to all the ink on their faces, as you will see in the photos below!
Top Tip - Take your younger child’s hand print first, as theirs tends to be slightly trickier to get in the right place, then do your older child’s second.
We did Cody’s hand print first, as we thought that would be the better way to do it, but in hindsight we think it would have been easier to do Jasper’s first. Why? Cody understood that he needed to put his hand down flat, we could ask him to move his fingers closer together or further apart and it was easier to position his hand where we wanted it…this isn’t such a simple task with a toddler or baby.